Any Be Still user can create a new prayer group at any time. That user then becomes the admin of the new group.
Before you create a new group, you should gather the following information, some of which is required and some optional:
- Name — a short descriptive name for the group. Required.
- Location — The city and state affiliated with the group (e.g., “Houston TX”). Foreign locations can use city and country if states or provinces are not used. Required.
- Church — The name of the church affiliated with this group, if any. Optional.
- Purpose — A short text description of the purpose of the group and who might be interested in joining. Required.
- Join policy — Whether or not new members must be approved by the admin. Required.
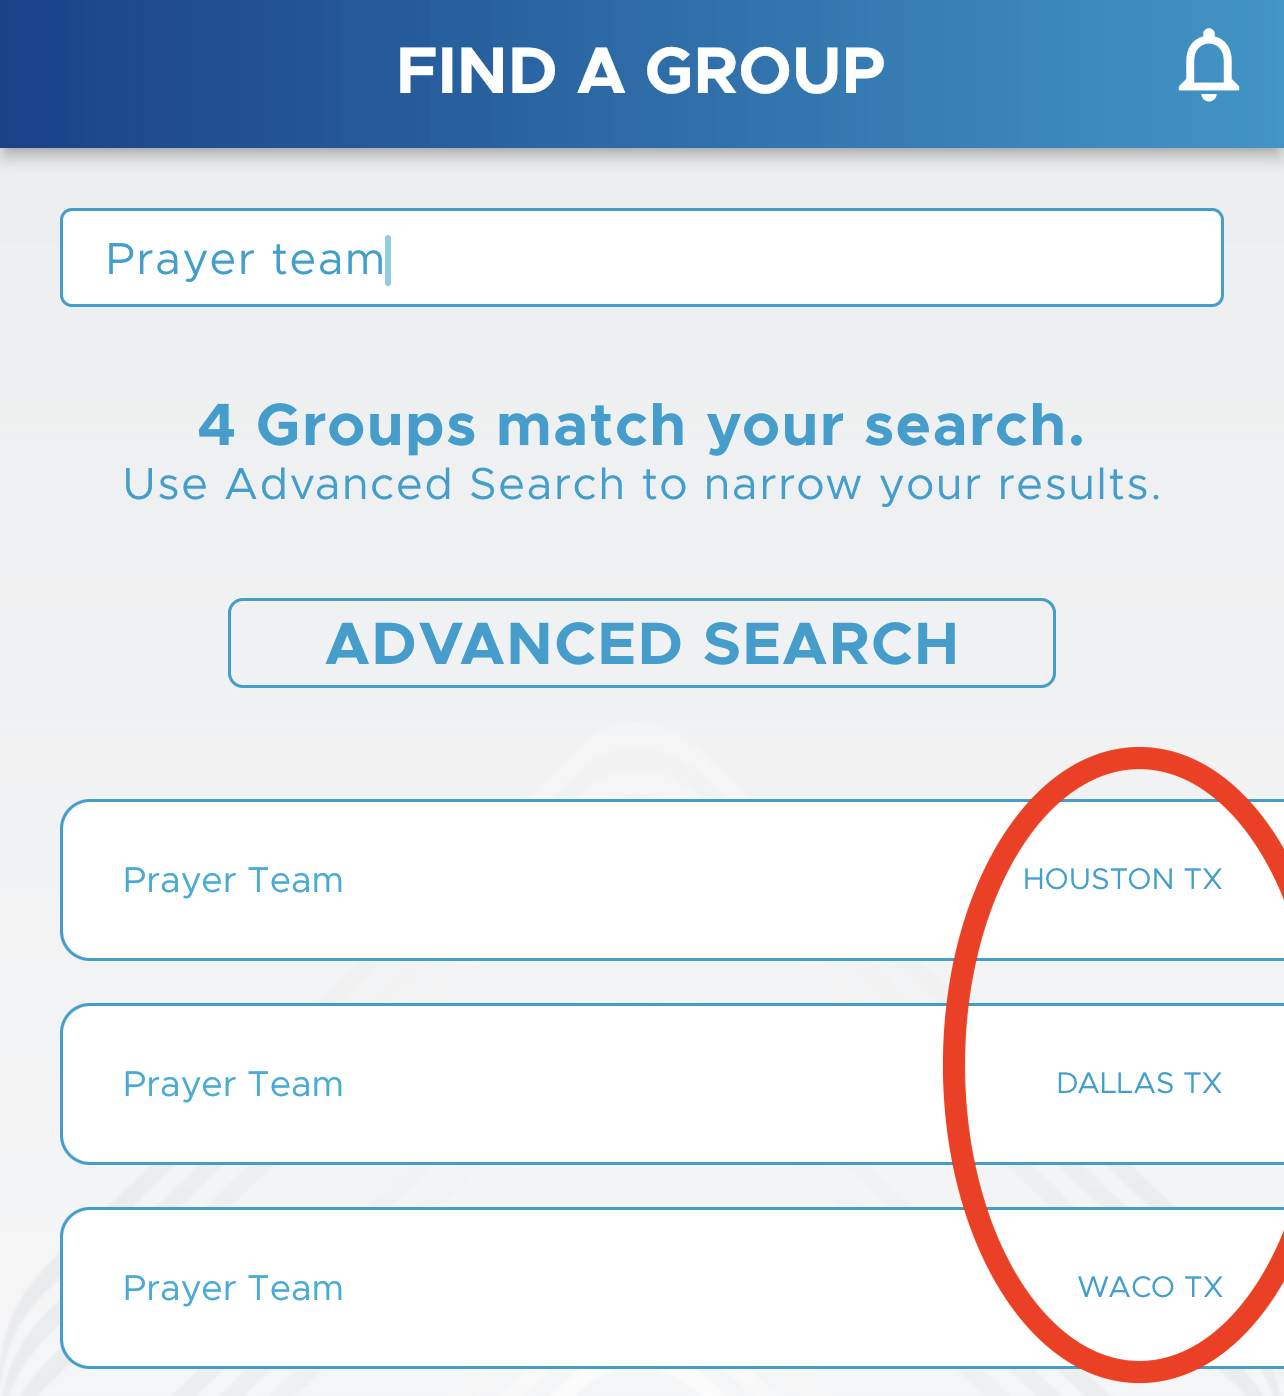
The name of your new group should be short and ideally should be unique among all Be Still prayer groups, although duplicate group names are allowed. The group name and location will appear on the list of search results, so duplicate group names in different locations can be easily distinguished:

You should also decide how to publicize your new group to prospective members, although this is done outside of Be Still.
To create a new group:
1. Tap the Groups button at the bottom of the page:

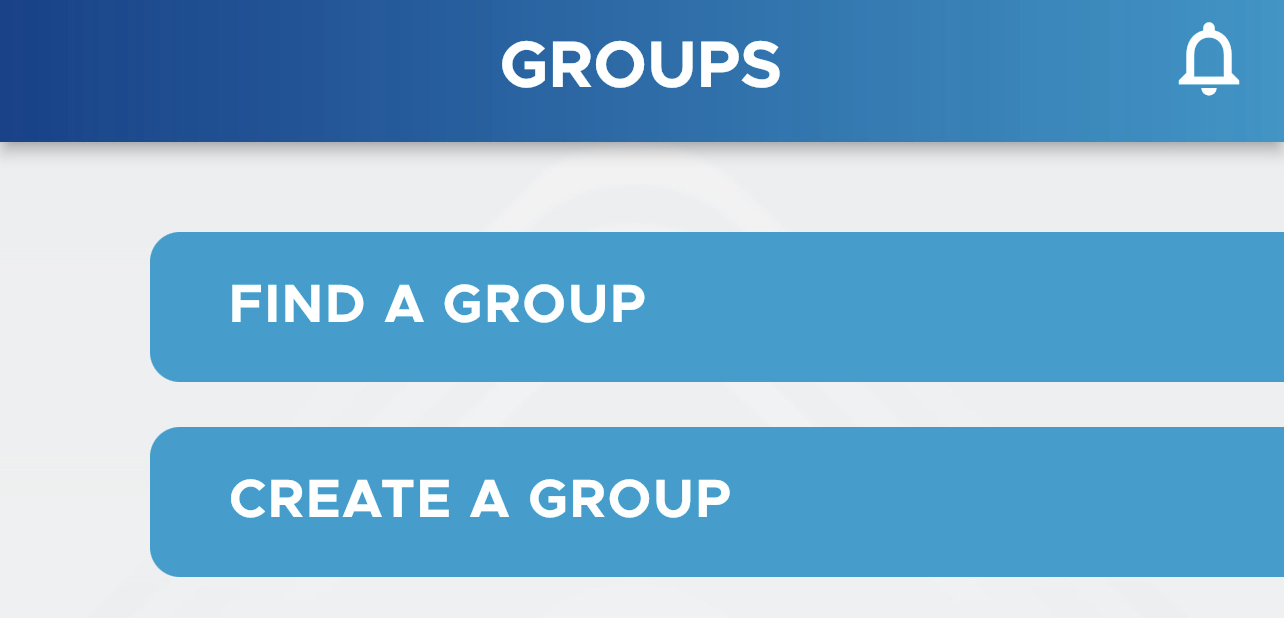
2. Be Still opens the main groups page. Tap the Create a Group button:

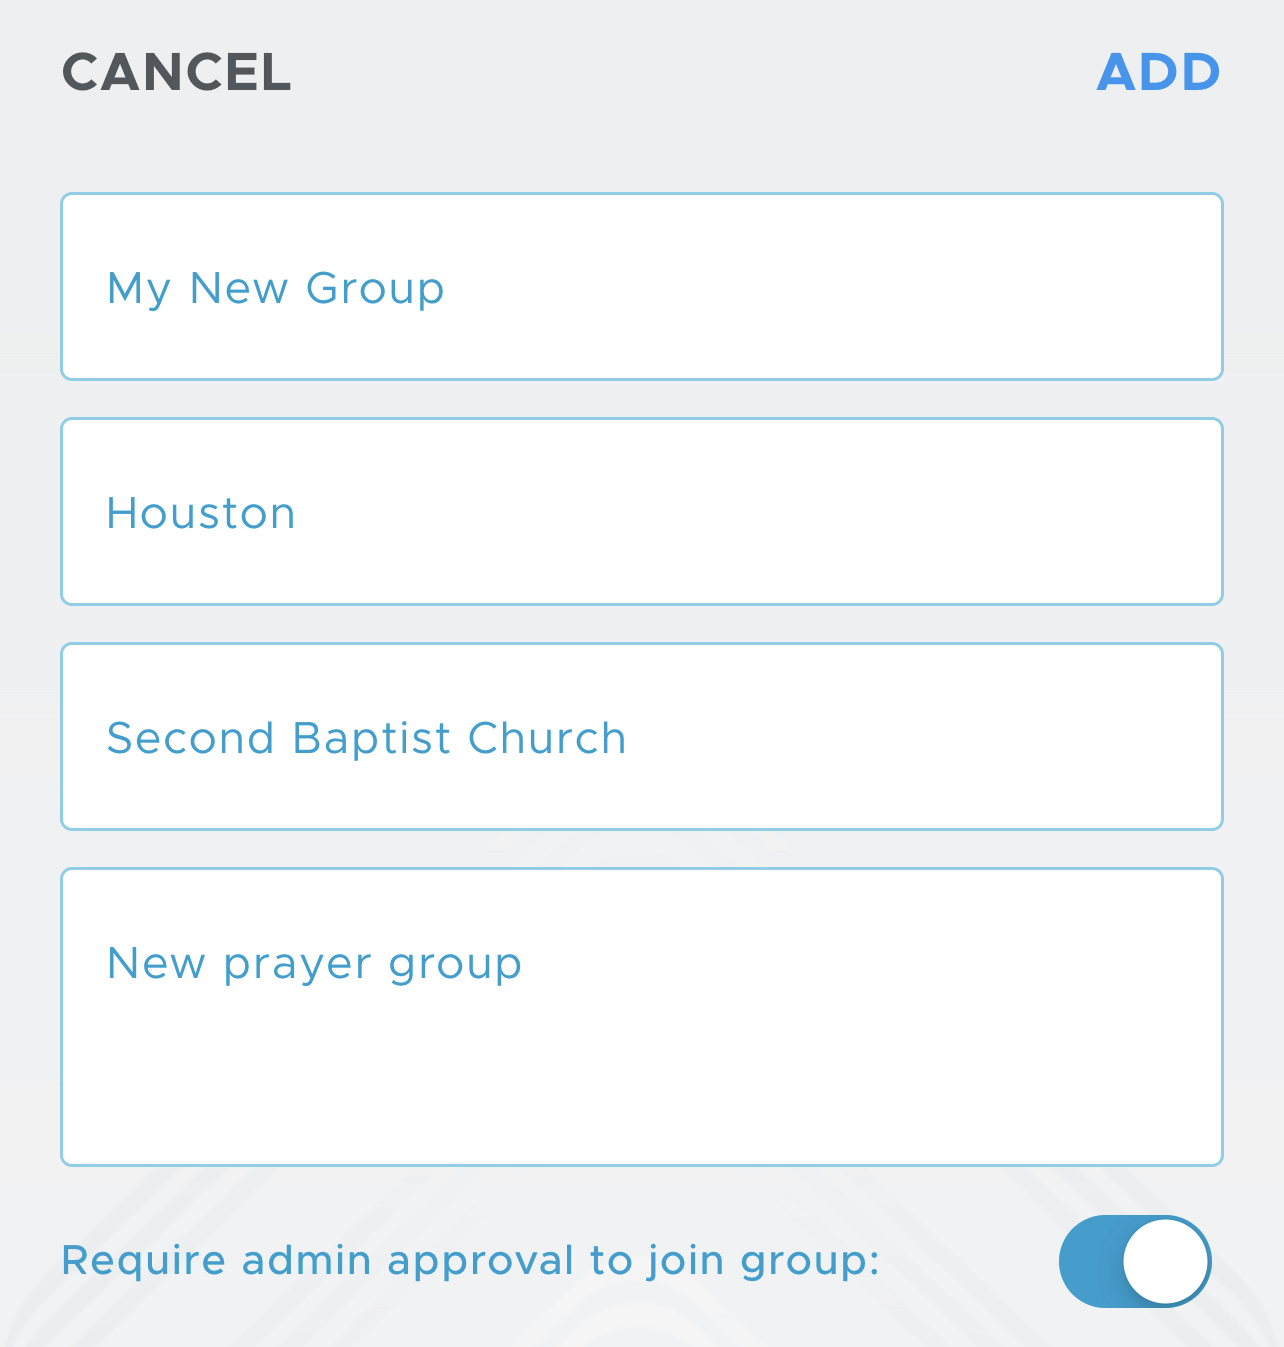
3. Enter a name for your new group, a location, and a purpose. Entering a church is optional but highly recommended.

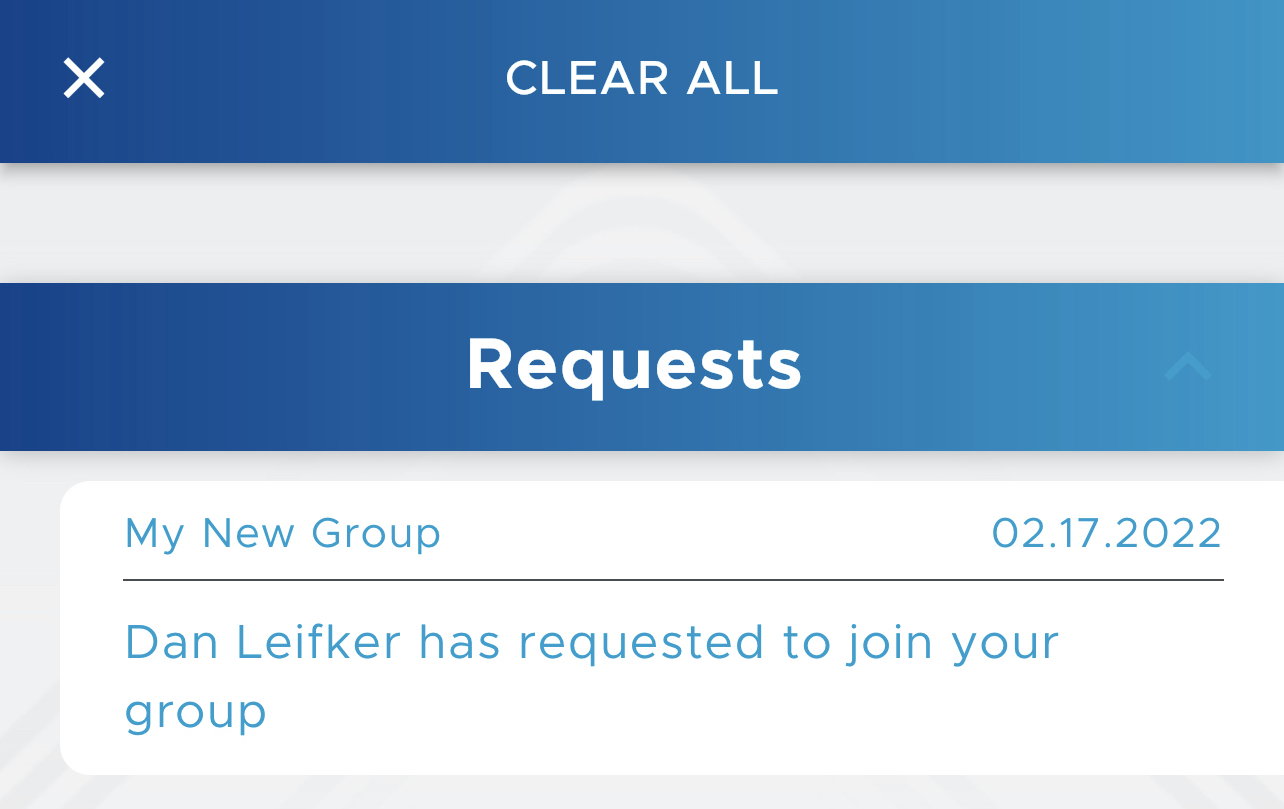
The Require admin approval to join group switch at the bottom will control the join policy for your new group. If you turn it off, anyone can join your group instantly with no approval needed. If you turn it on, you must explicitly approve or deny requests from new users who wish to join. These “join requests” come to you as alerts.

4. Tap Add to create the new group, or Cancel to exit without creating anything.
5. Be Still displays a Congratulations! page that announces the successful creation of your group. You may tap Go to Group to open the empty prayer list for your new group.